No Time Wasted
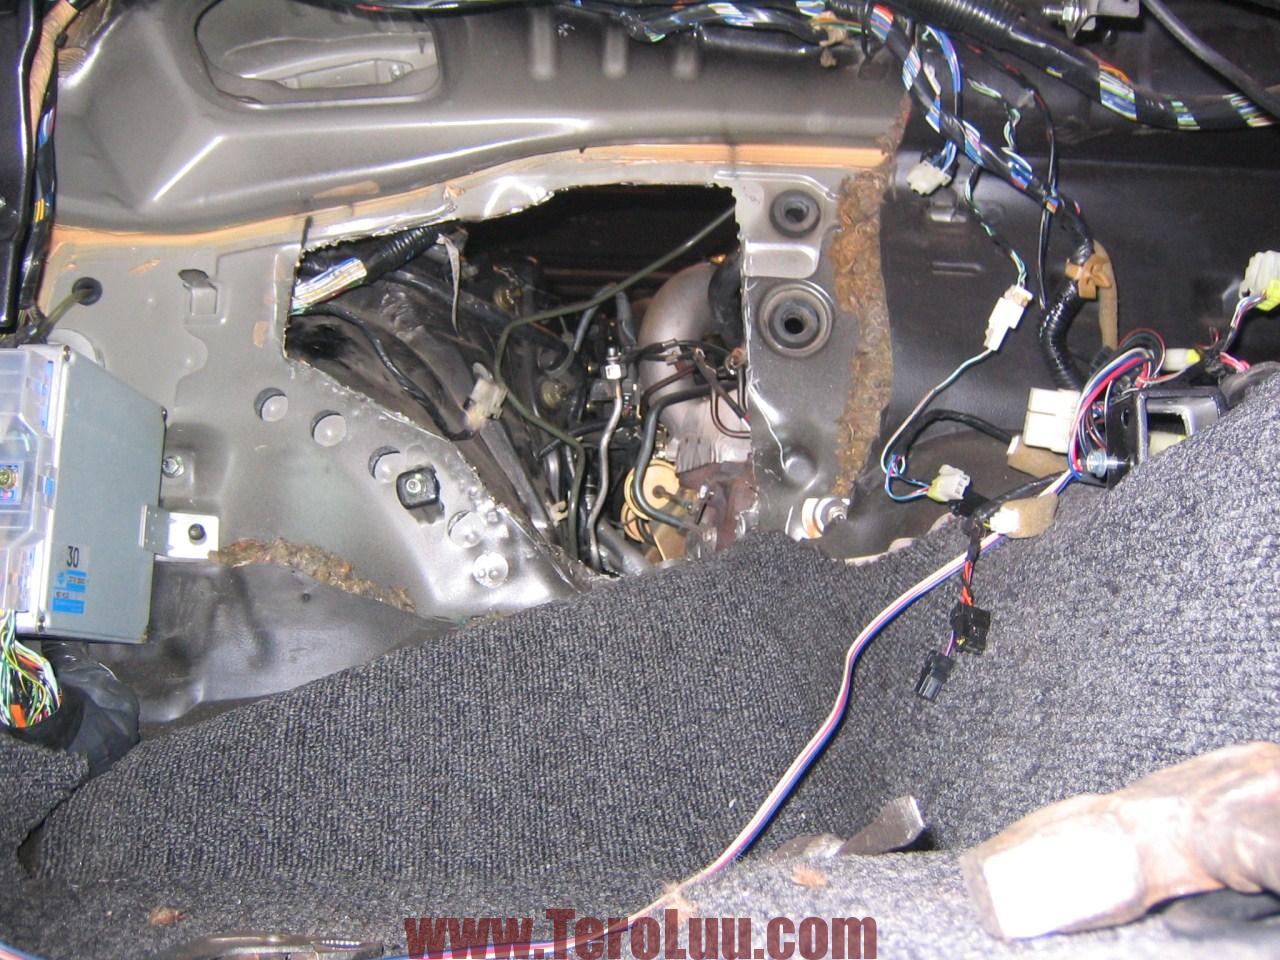
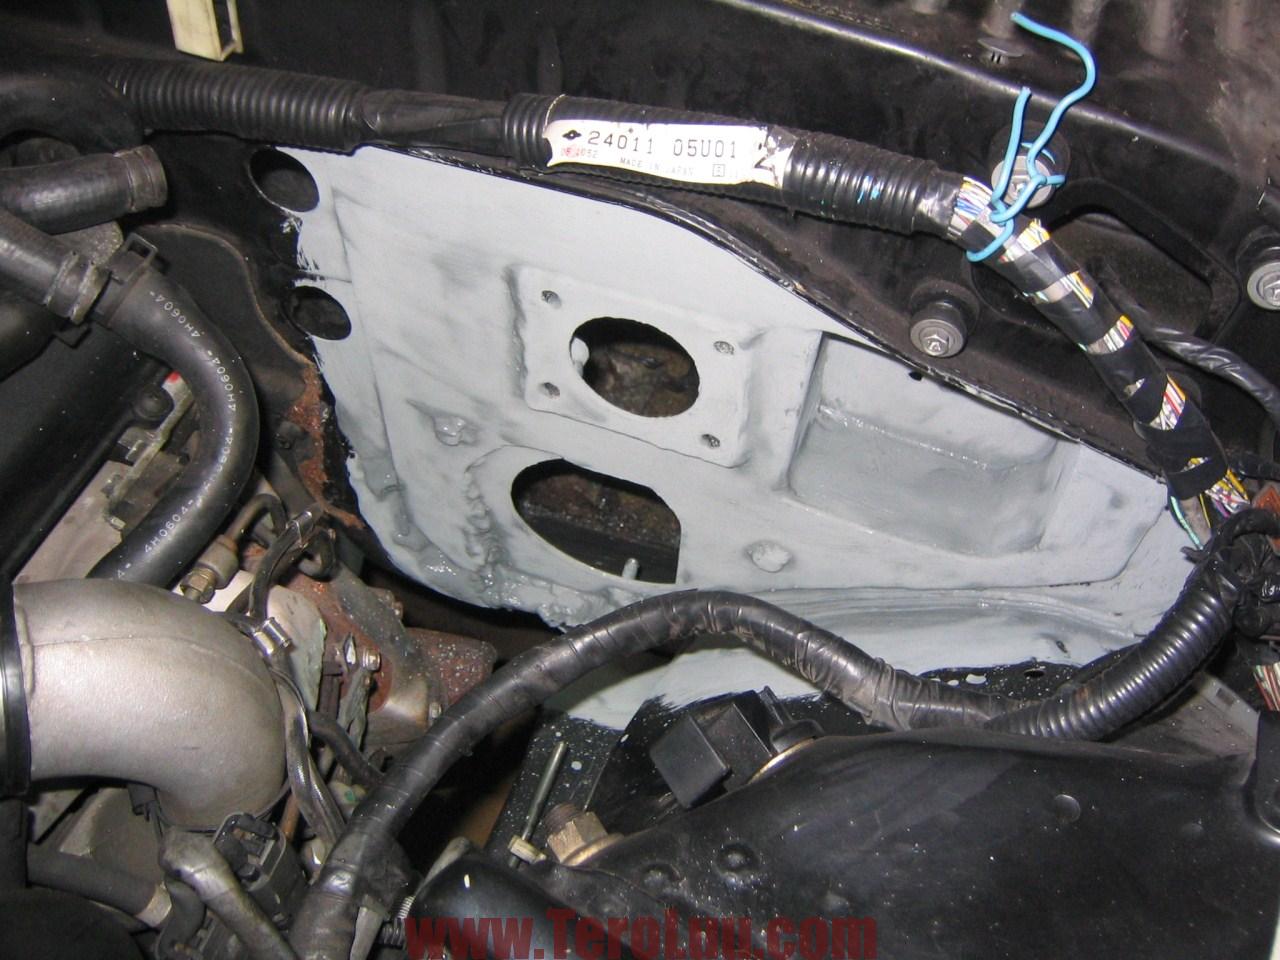
Next step was to cut holes to brake, clutch and steering components.
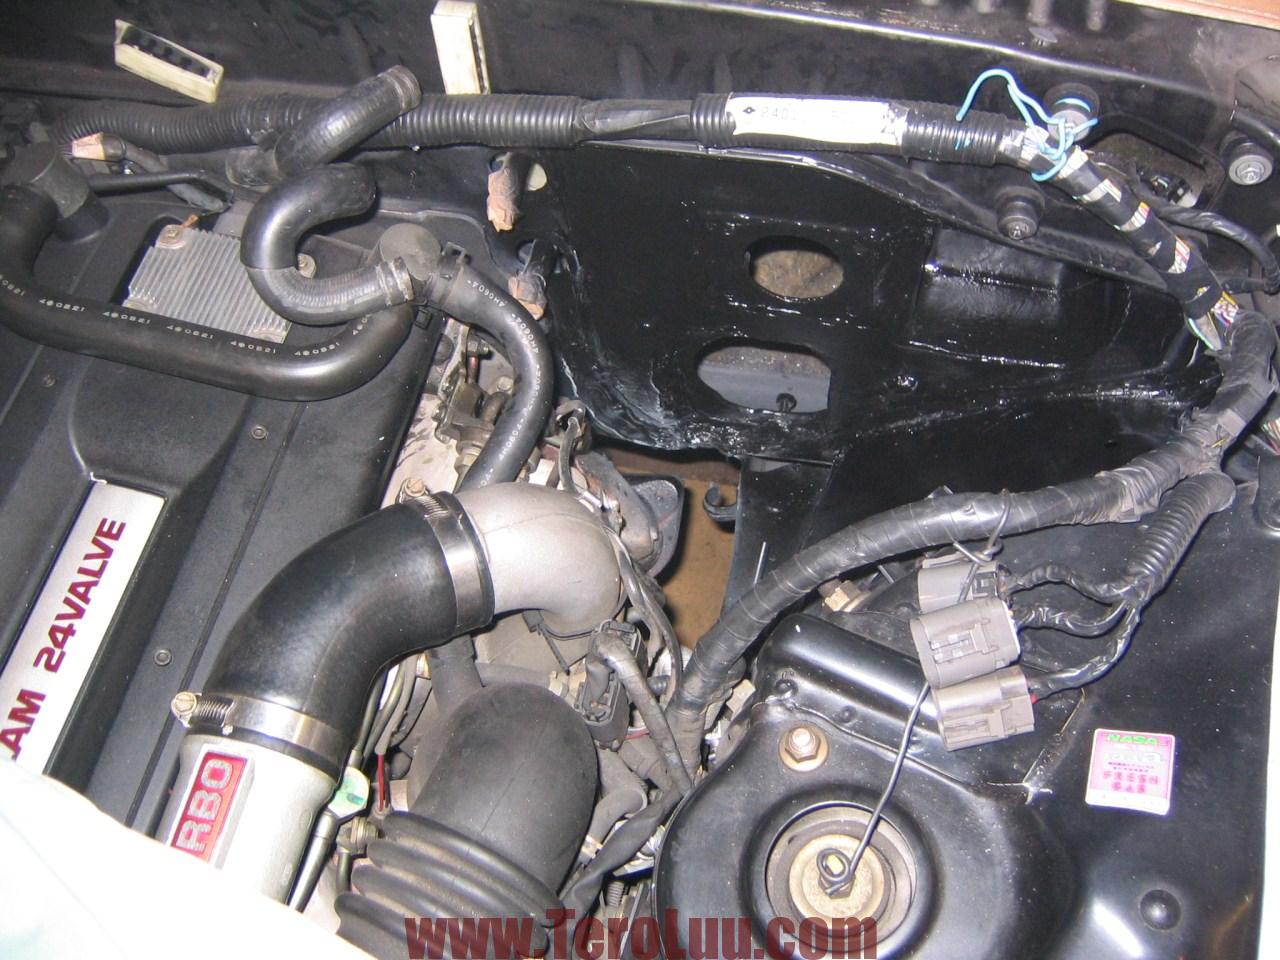
There was not any good place where to put those parts. So first i needed to do proper place to bolt those components.
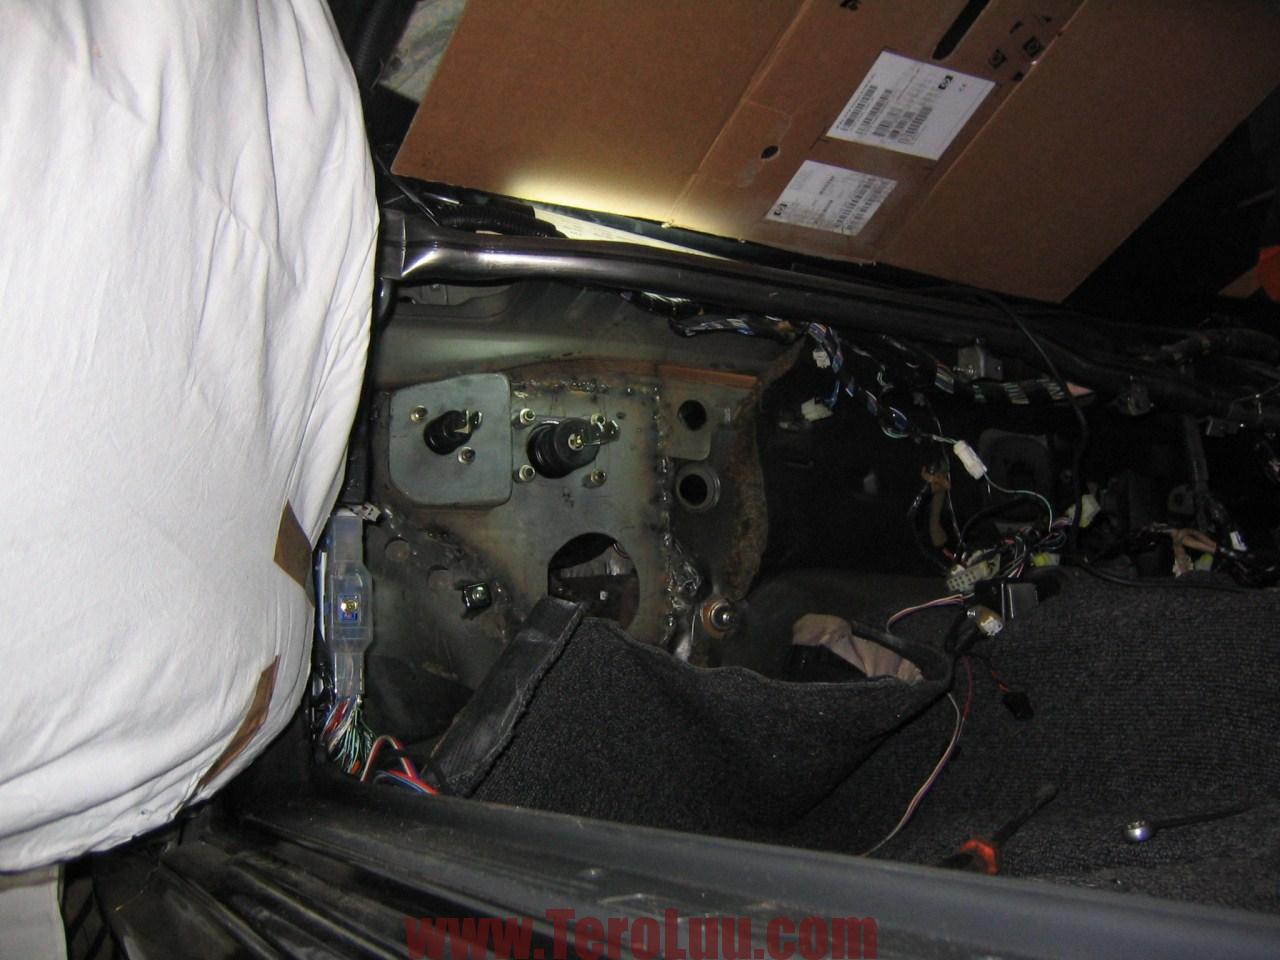
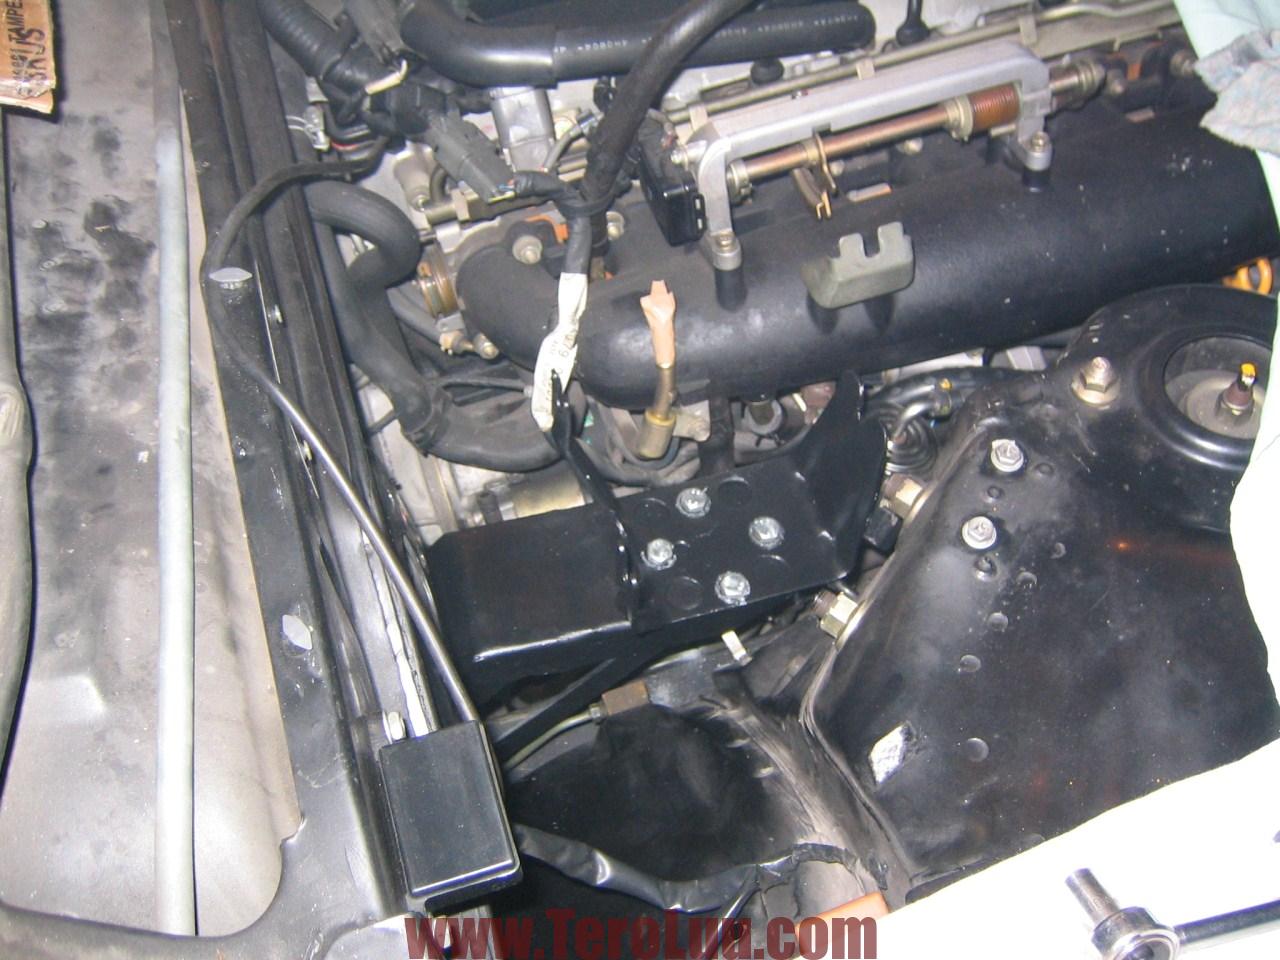
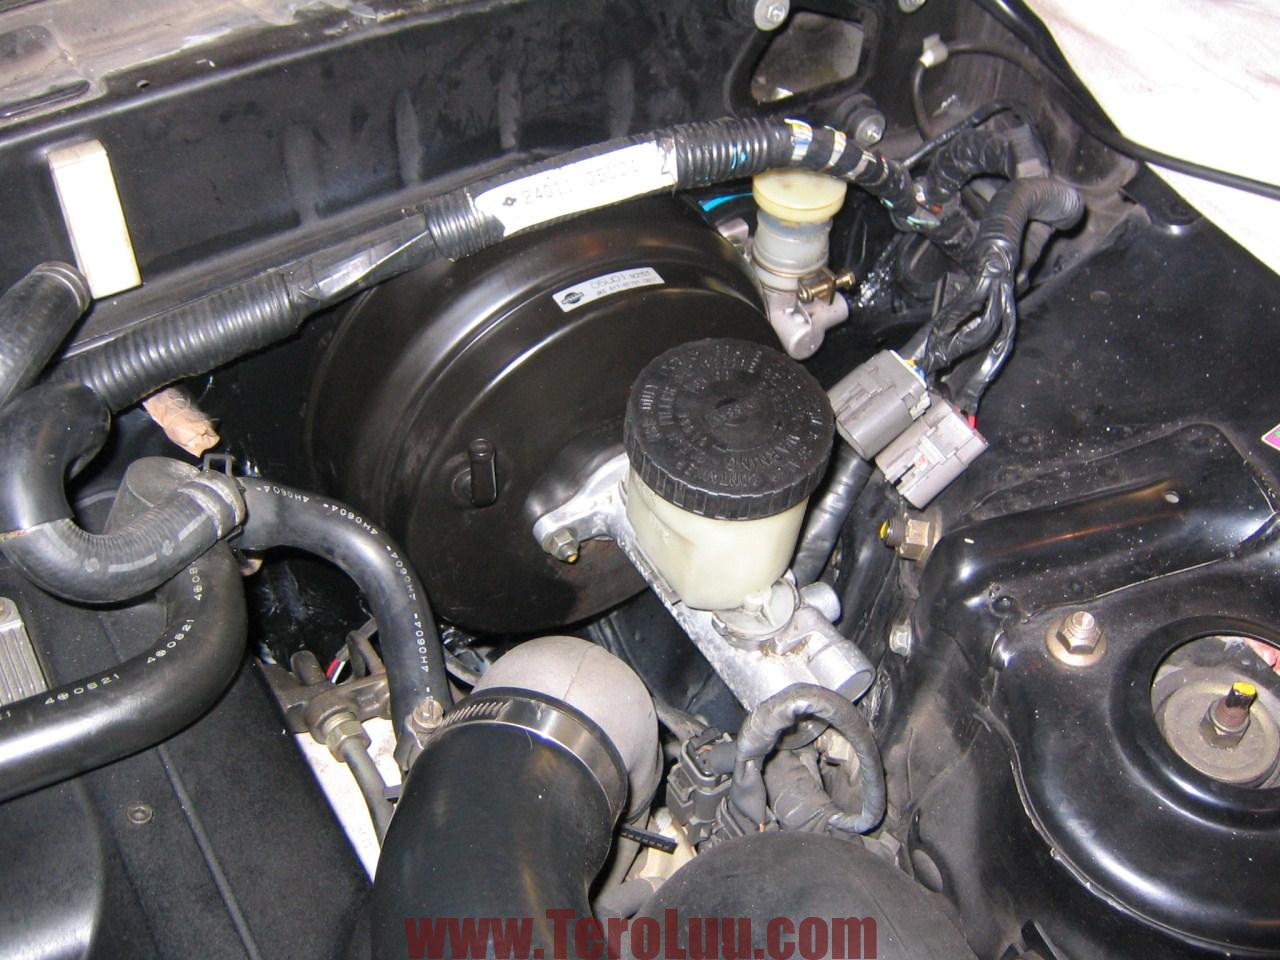
Brake and clutch master cylinders with vacuum boosters test fitted before welding. Also thick coat zinc paint sprayed.
I used quite thick metal sheet to make sure brake master cylinder is not moving when under heavy breaking.
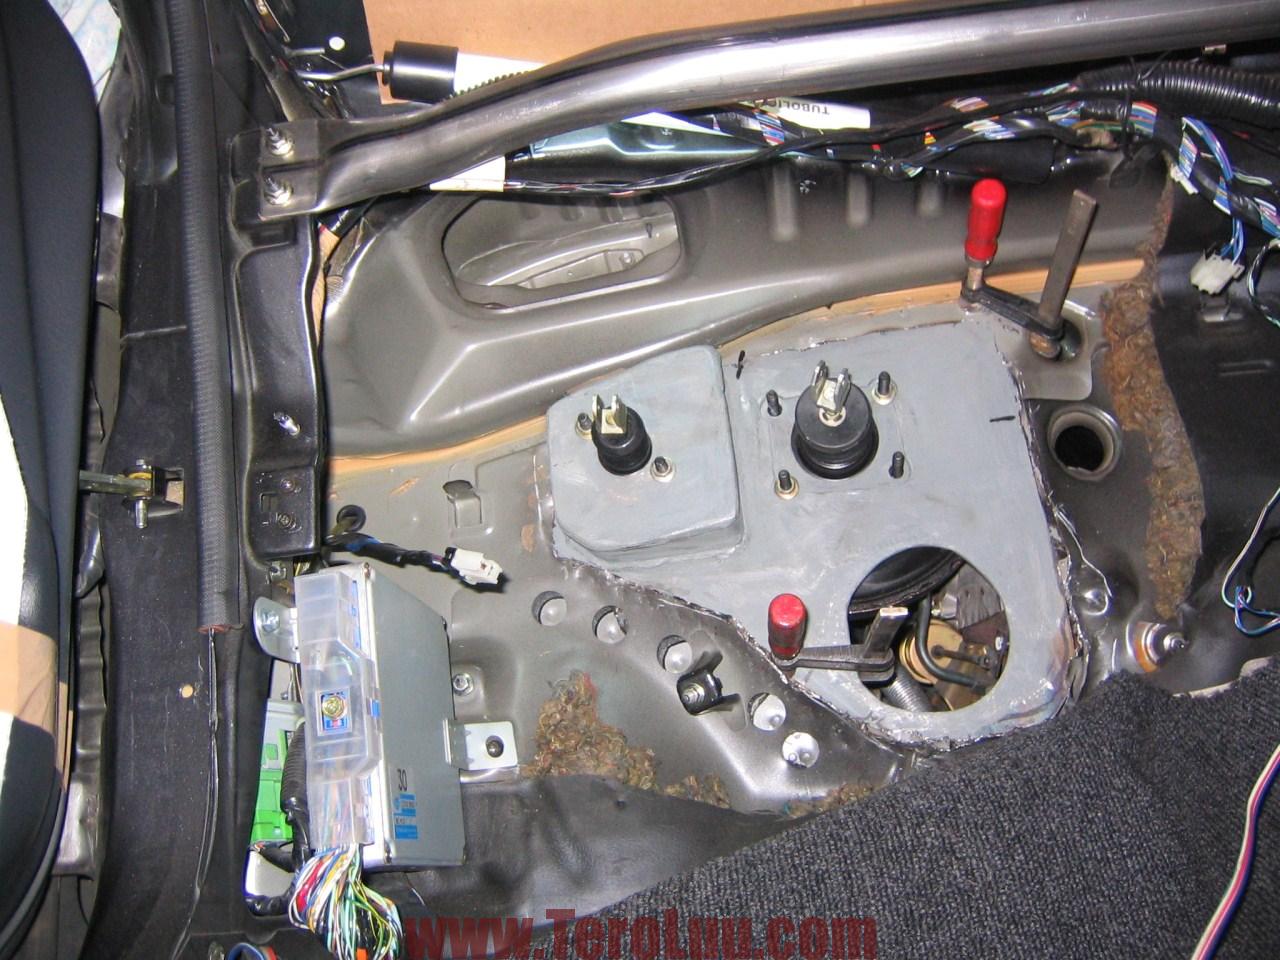
Now it´s MIG welded in place.
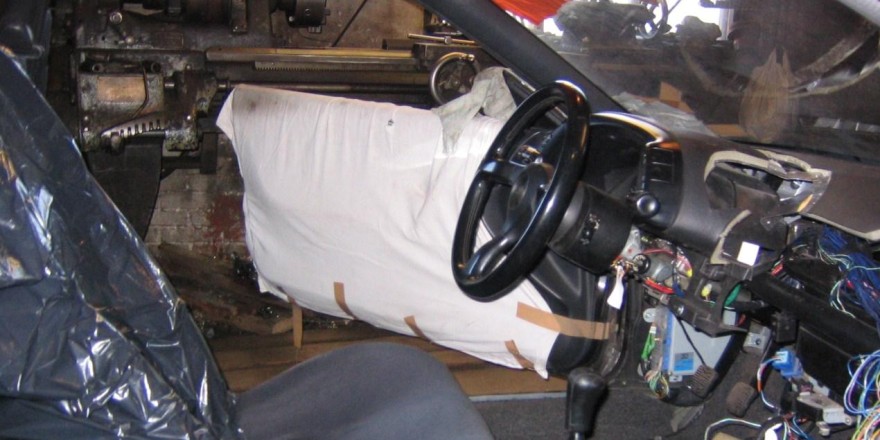
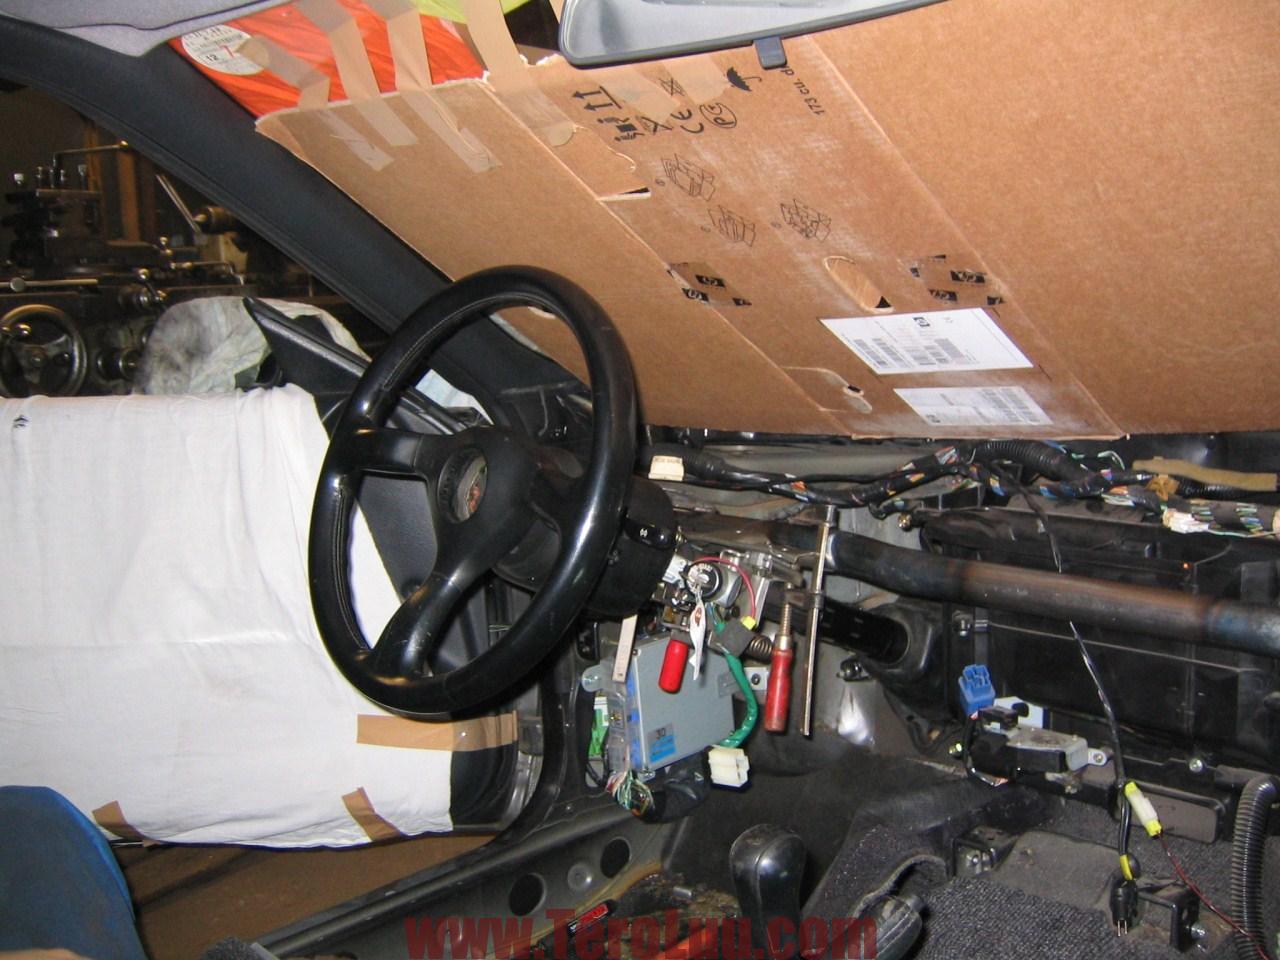
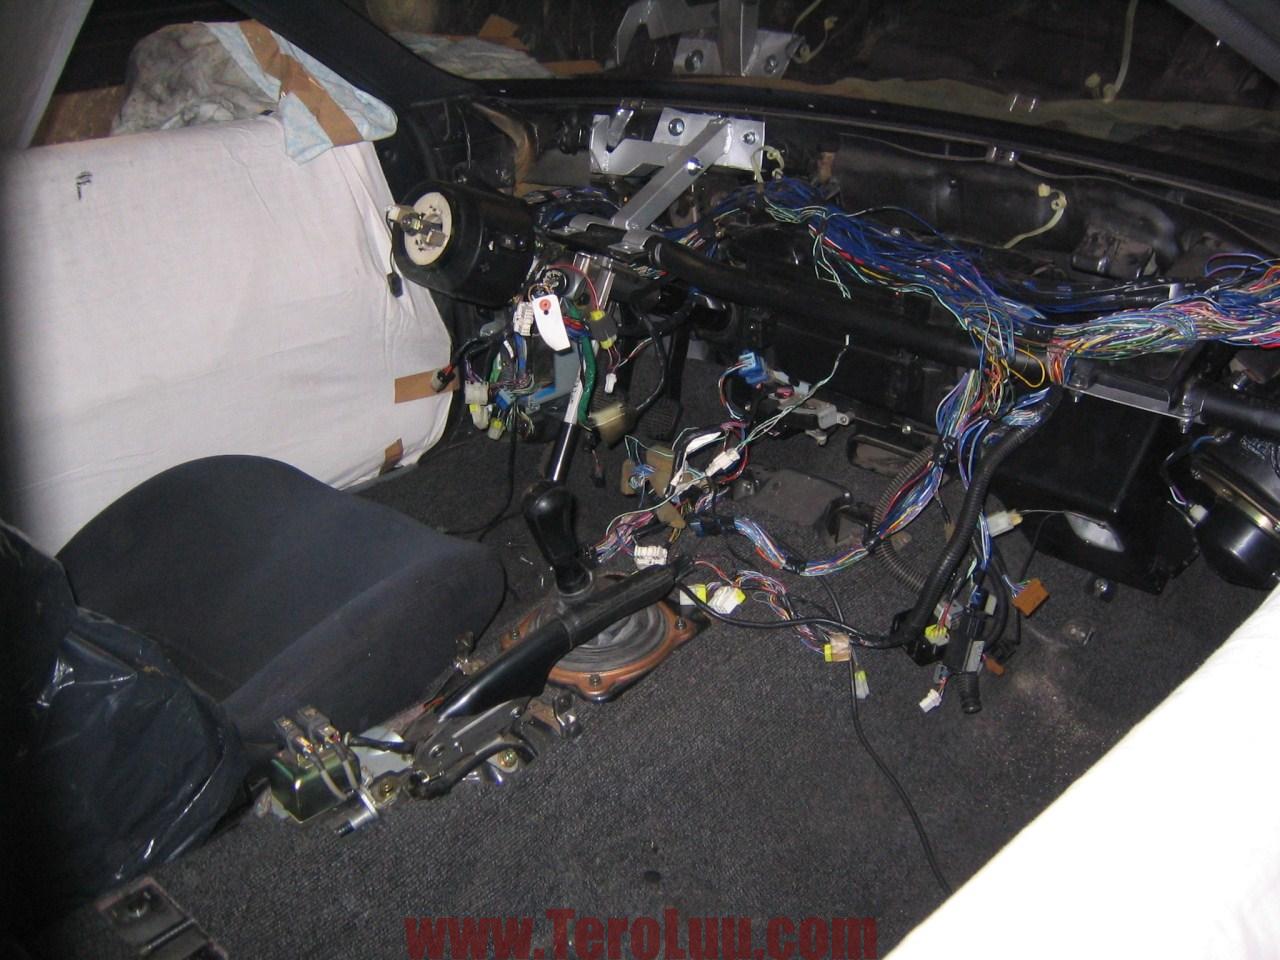
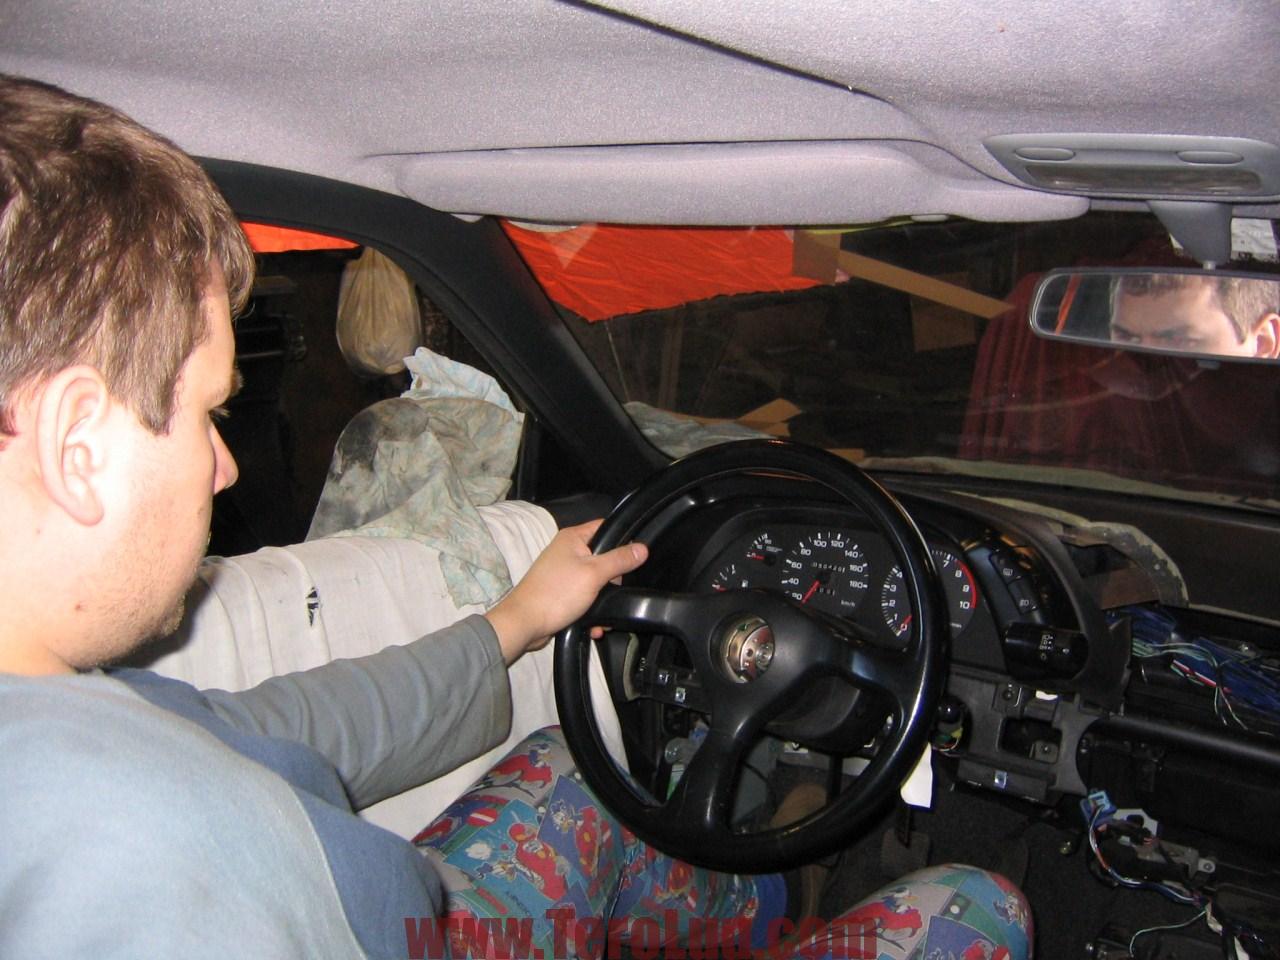
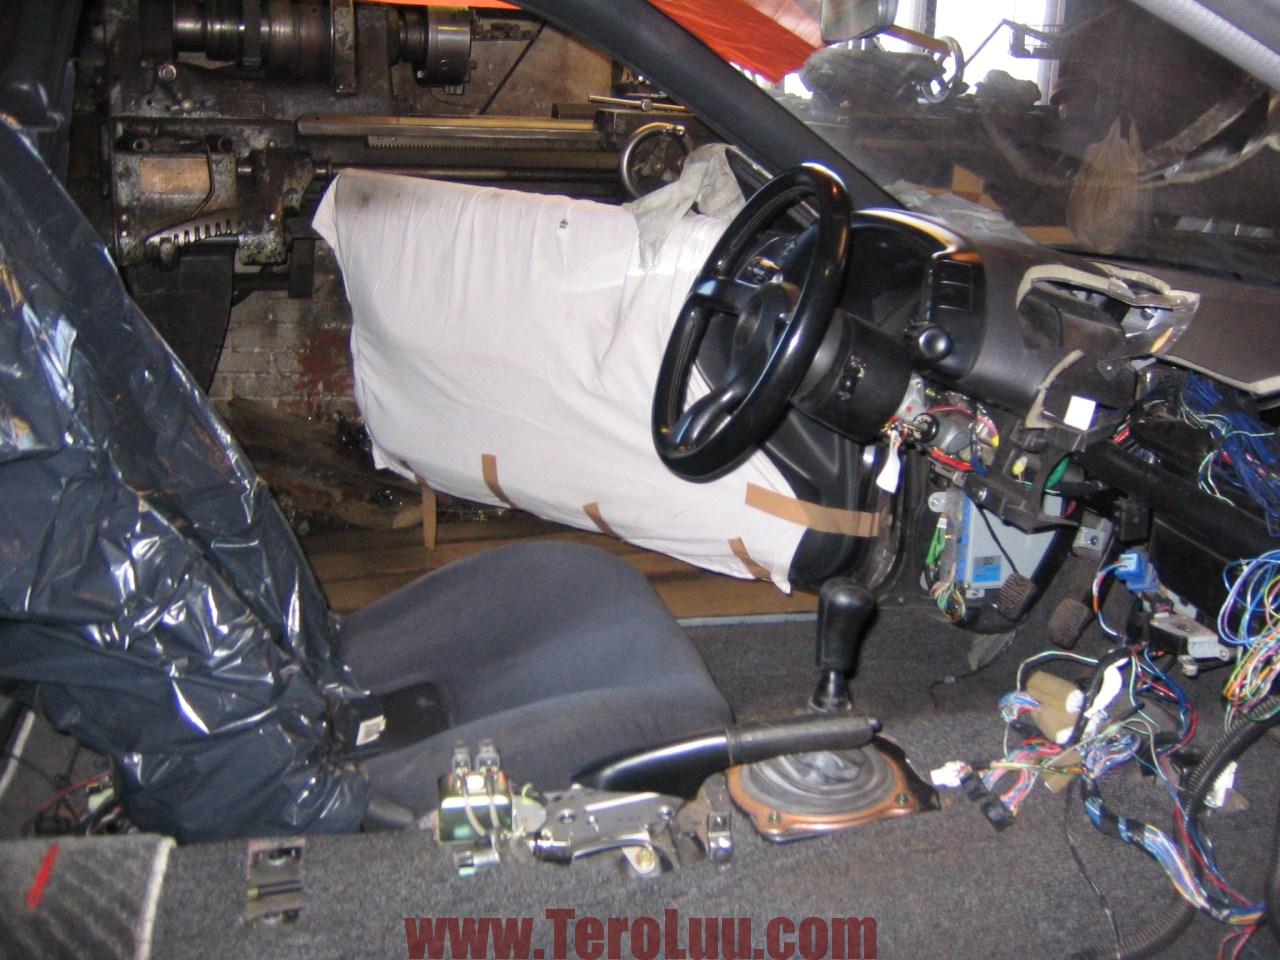
Steering column test fitted. Some serious progress now!
Steering rack installed. There is no extra place at all. Custon downpipe is also required.

Steering column support bracket created.
ABS unit holder fabricated.
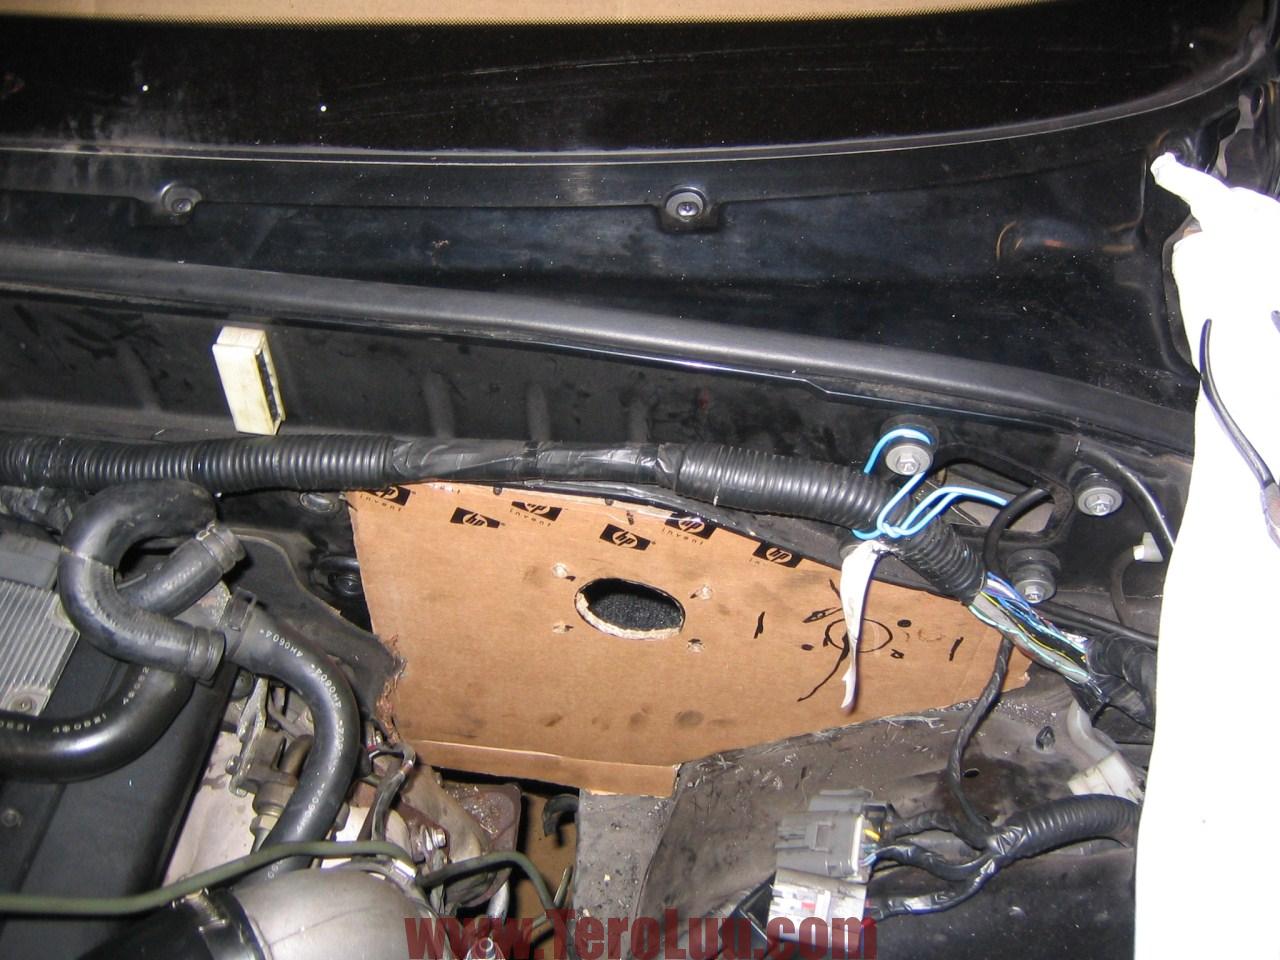
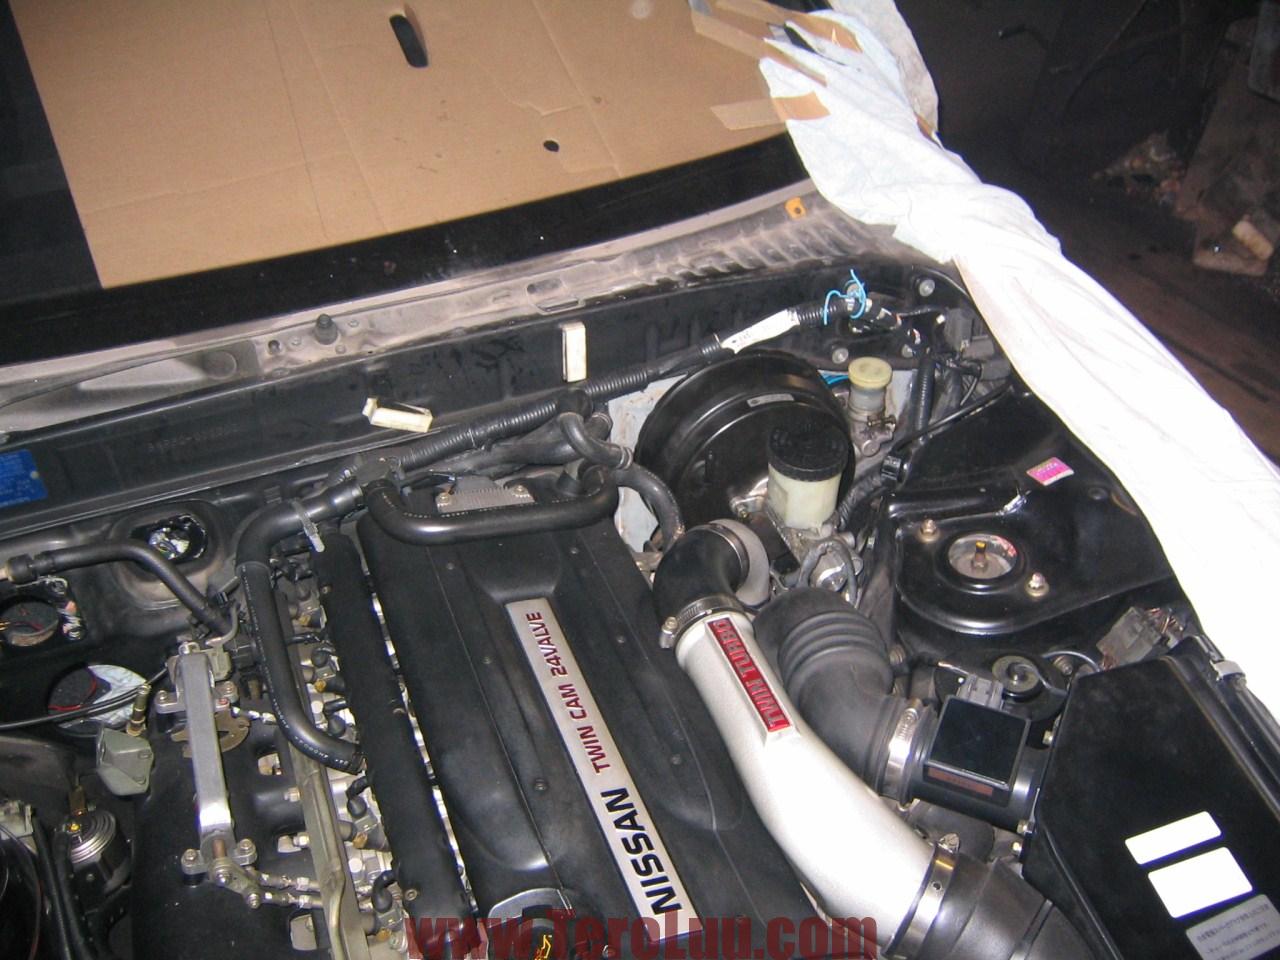
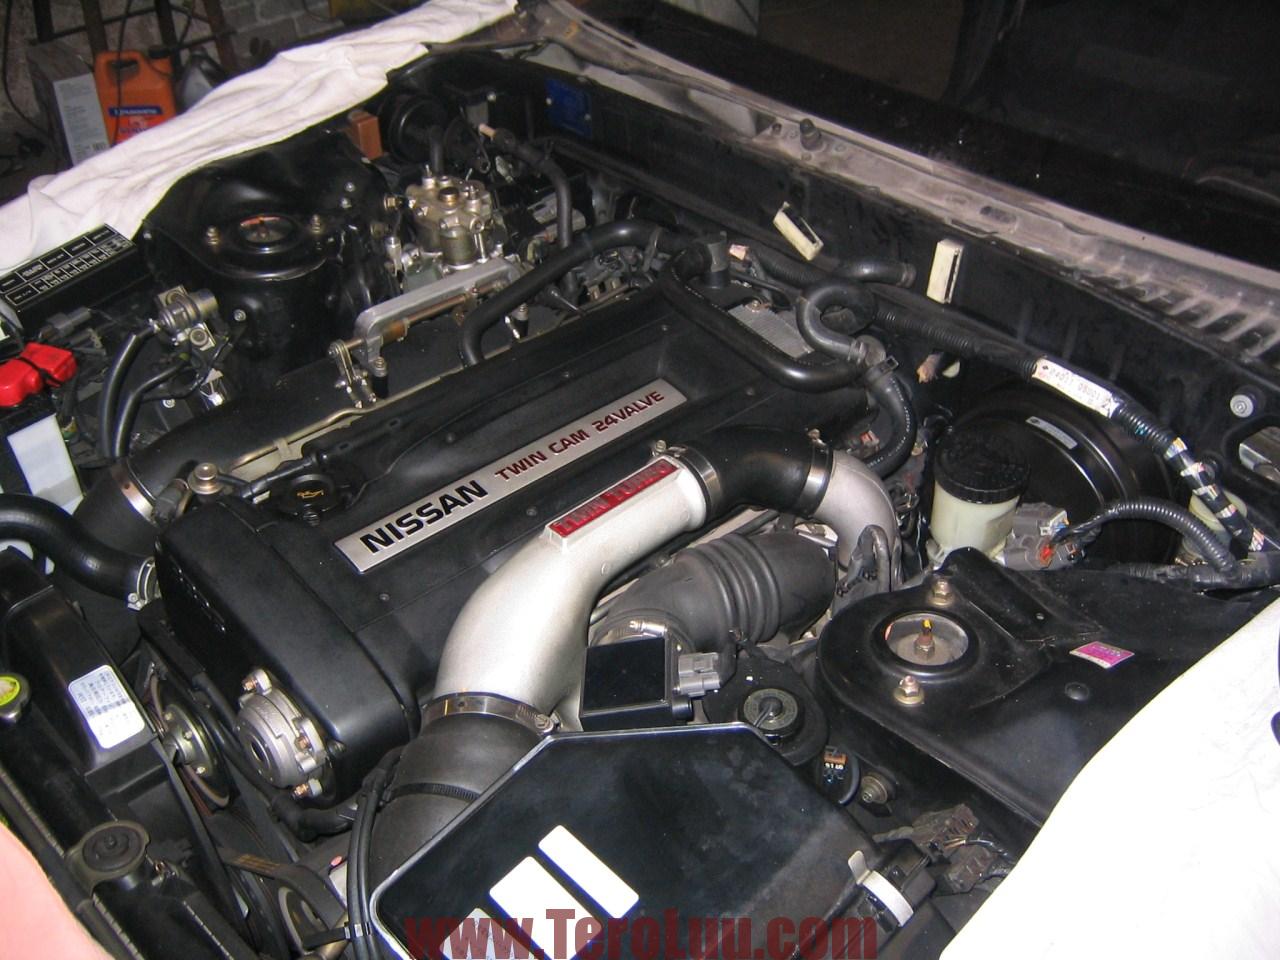
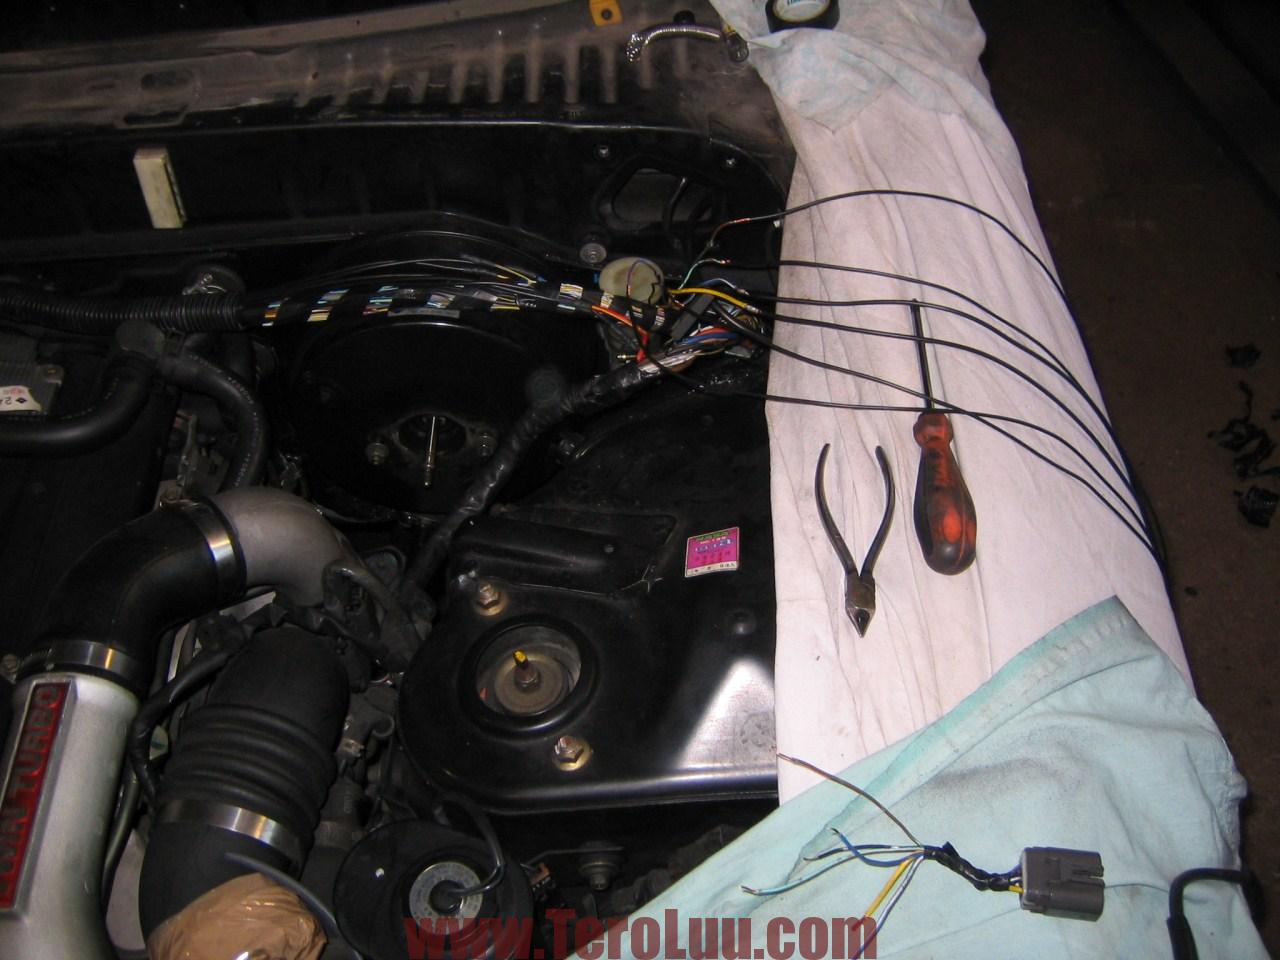
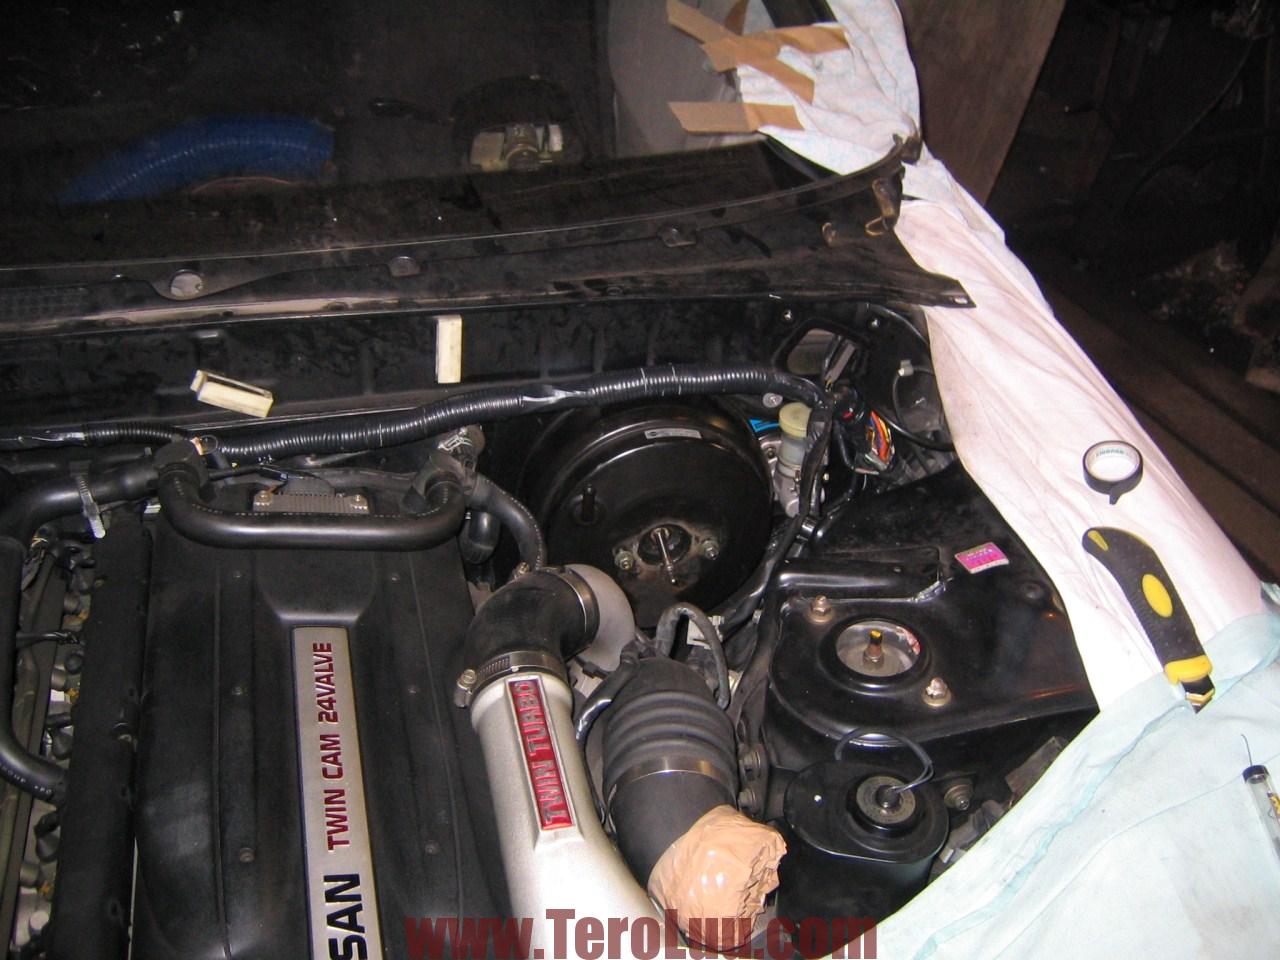
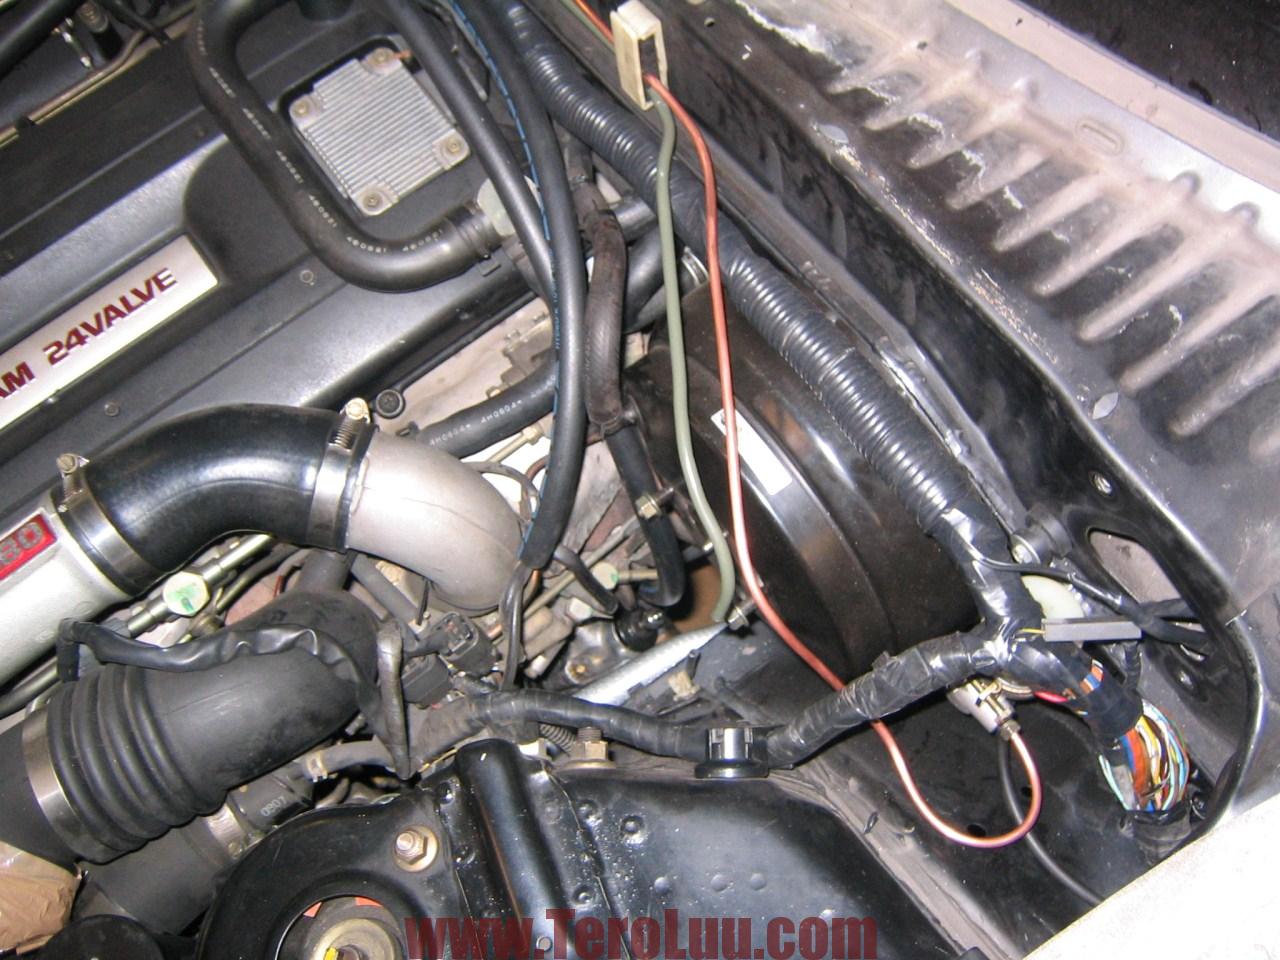
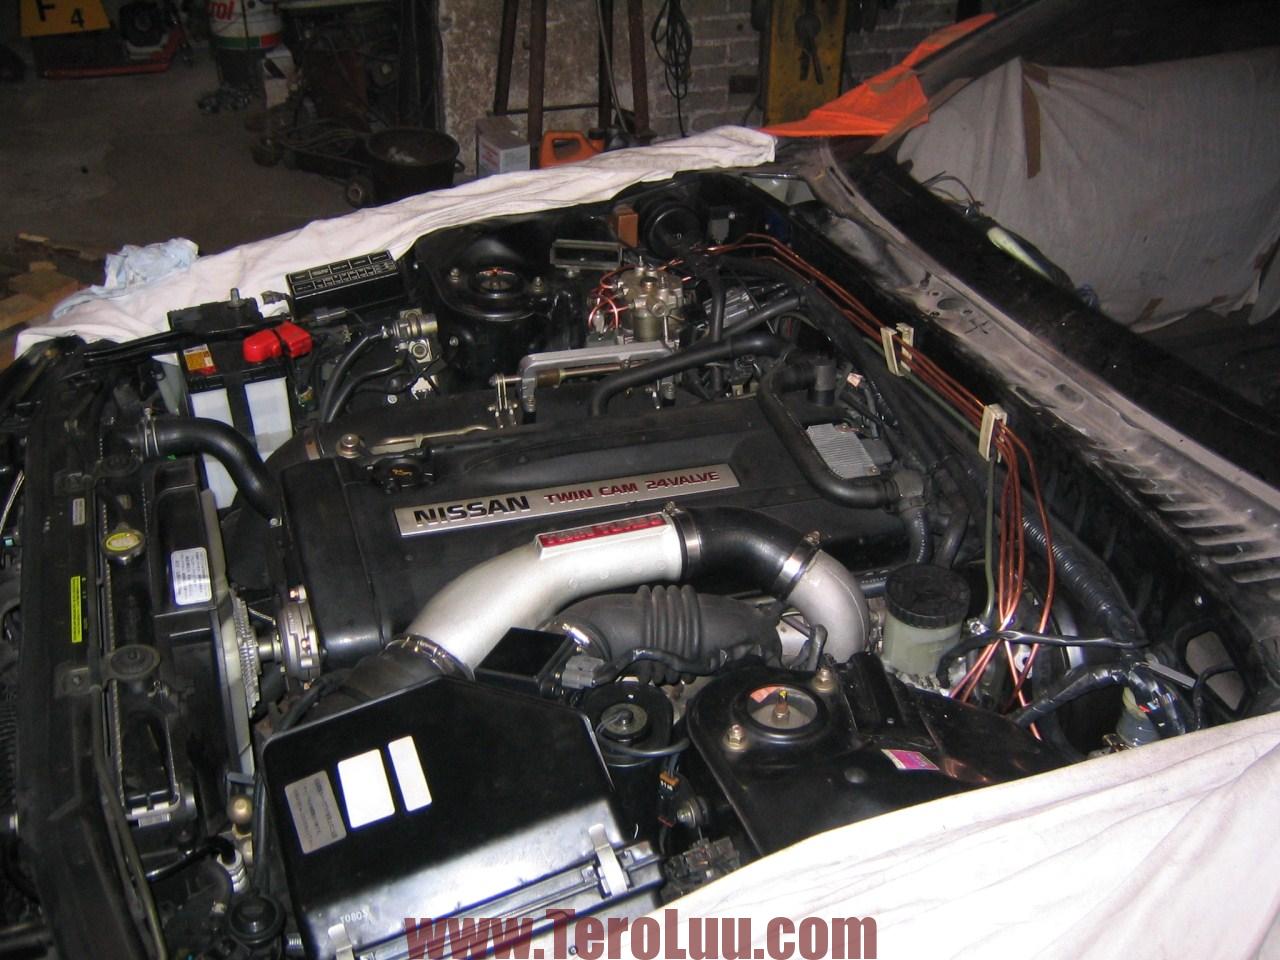
Engine bay is starting to look intact again.
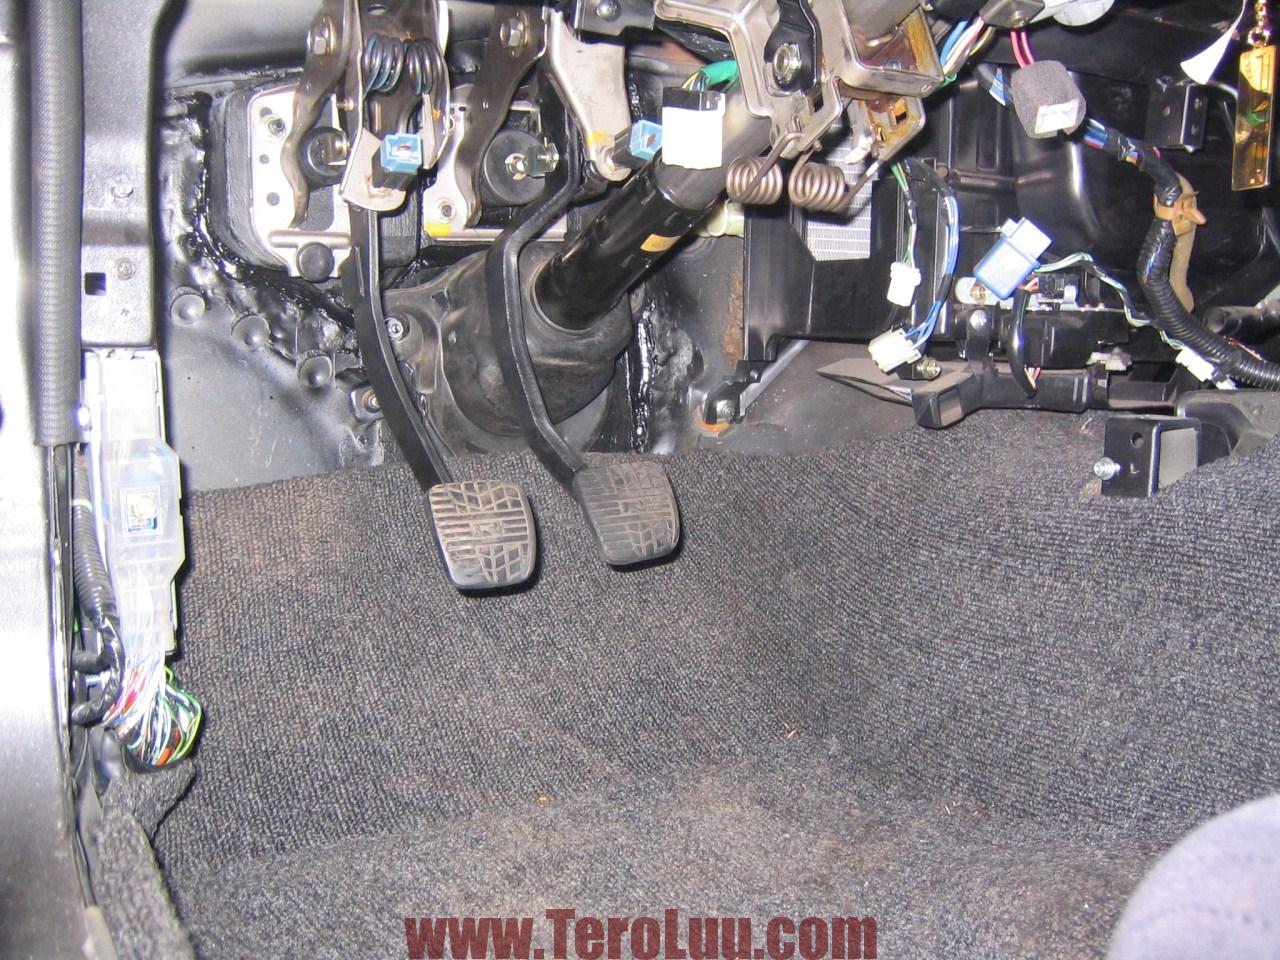
Brake and clutch pedals assembled. Also steering racket is mounted now.
Next thing is to move AC parts to right side. No extra space either under dash. 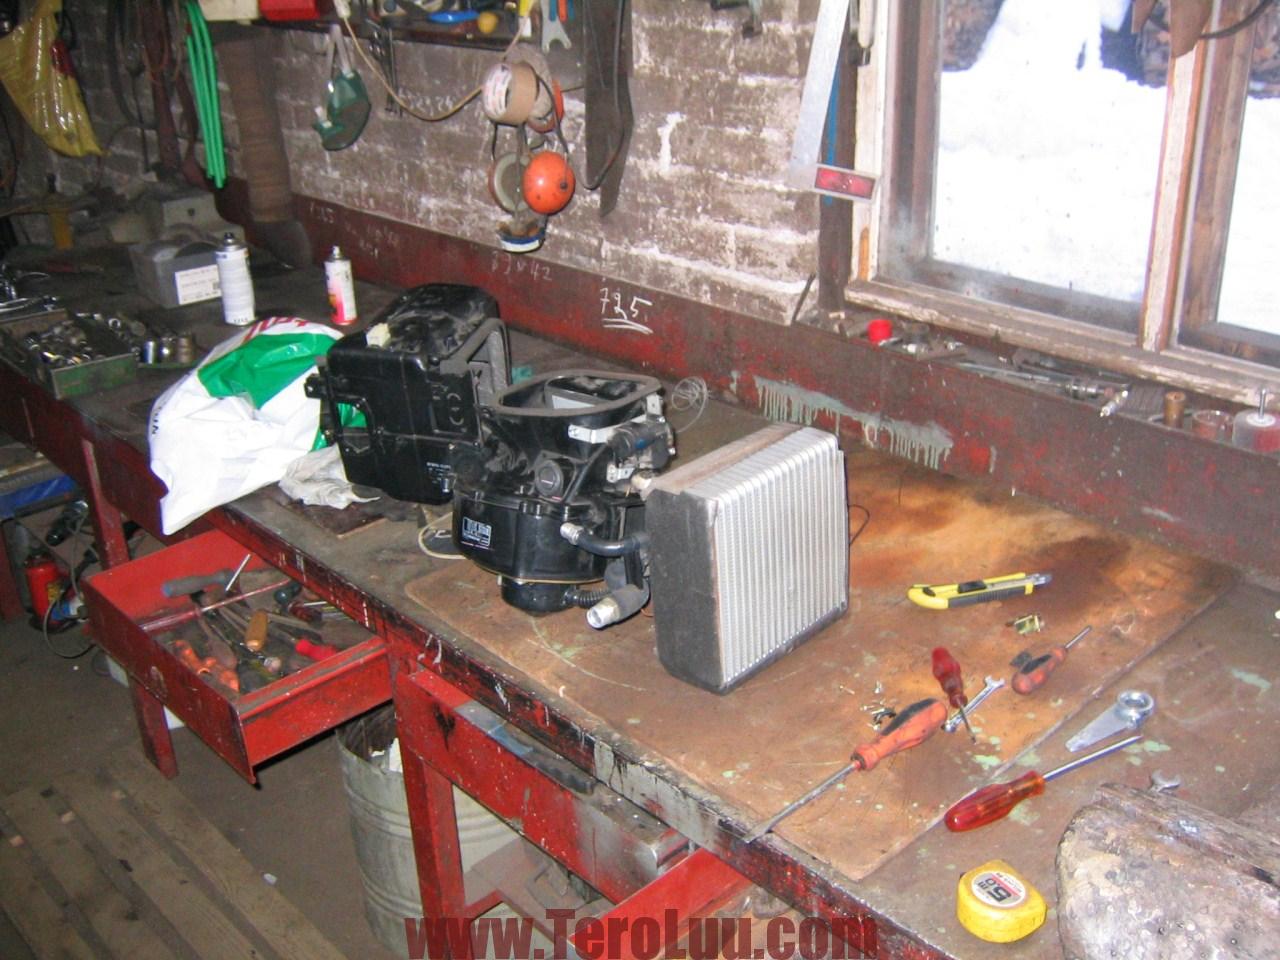 I created metal custom made box for AC unit. And test fitted it with blower fan.
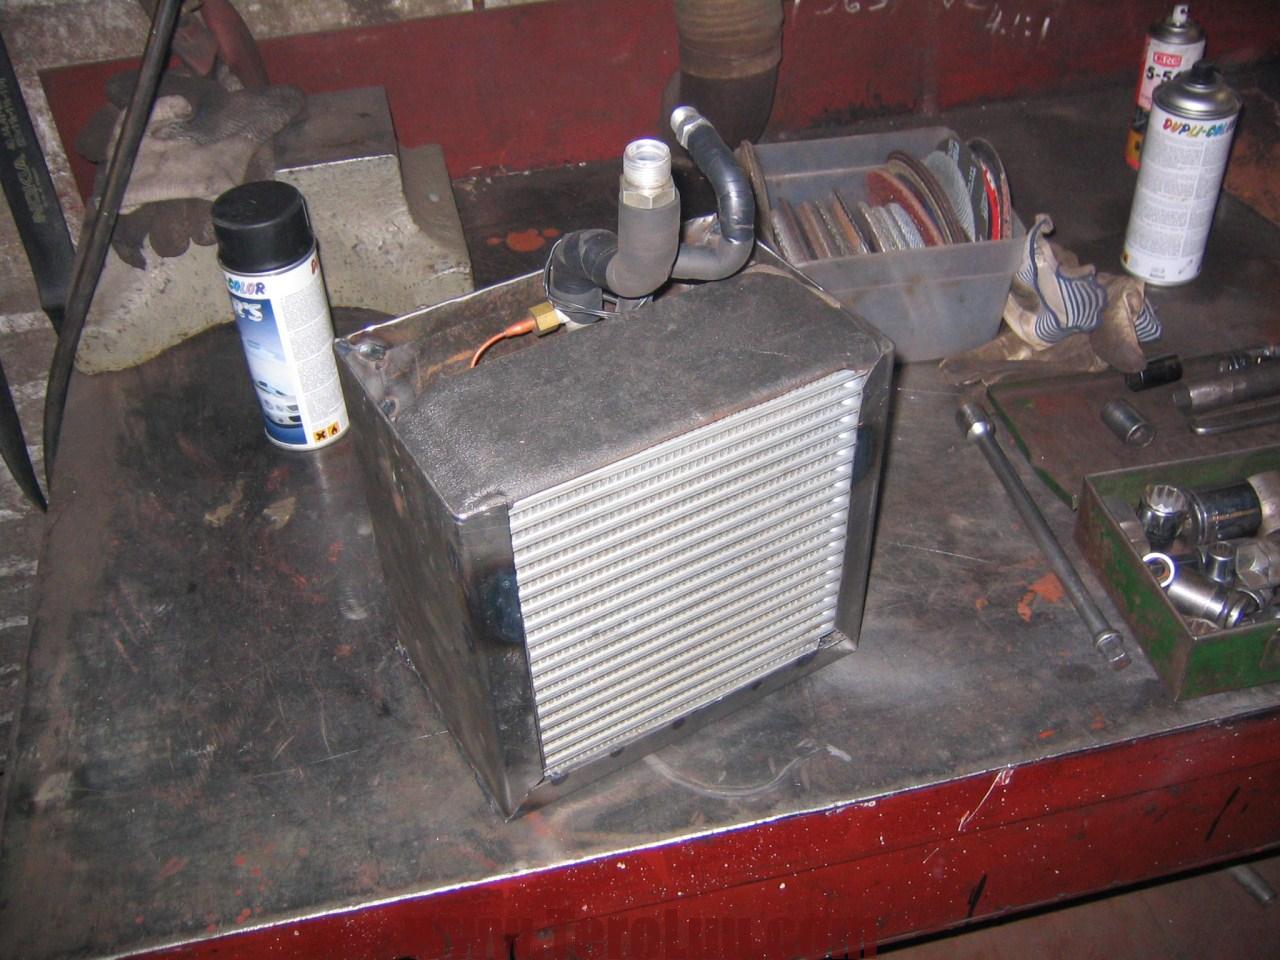
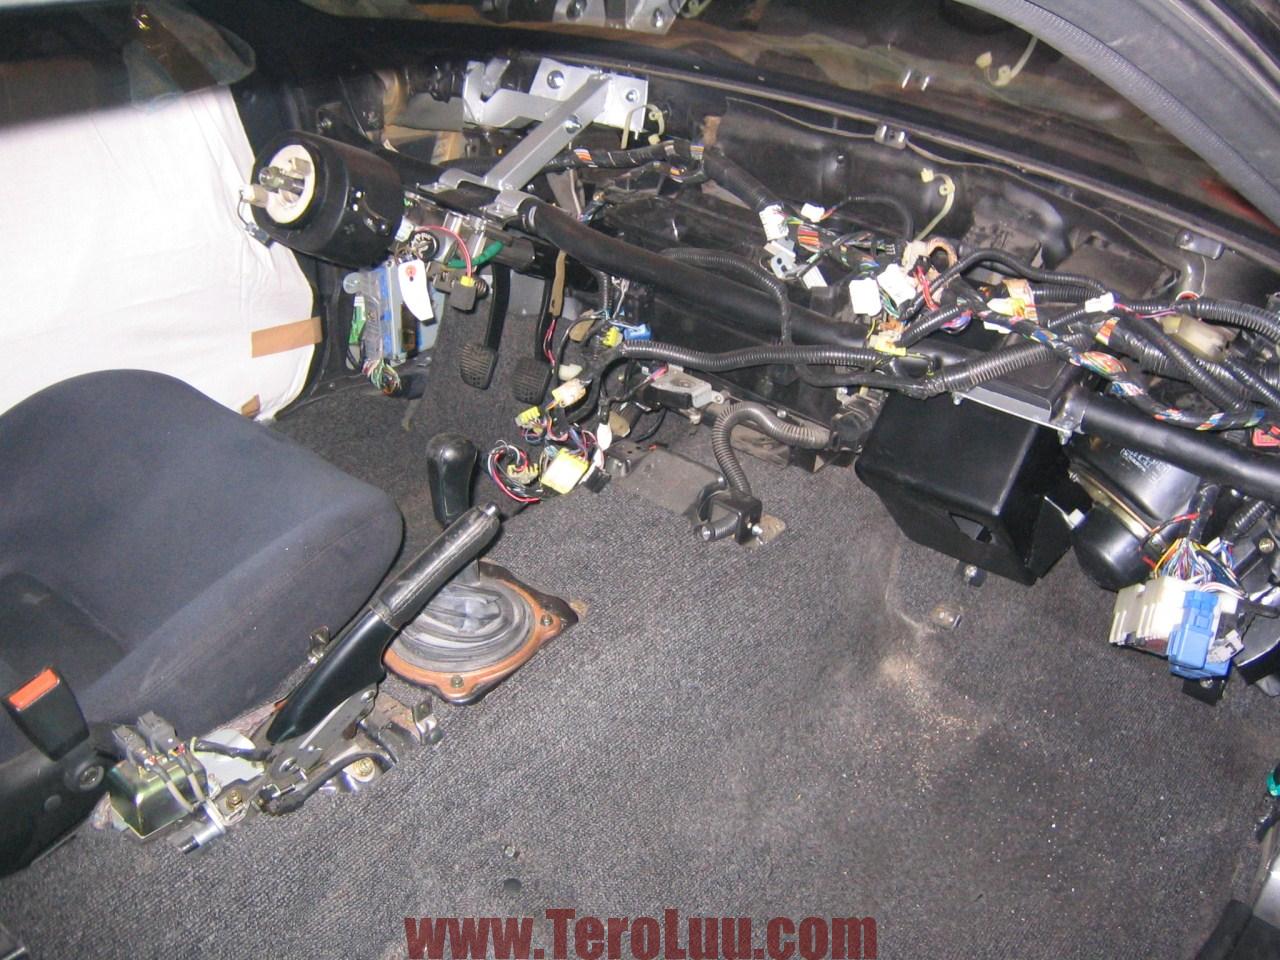
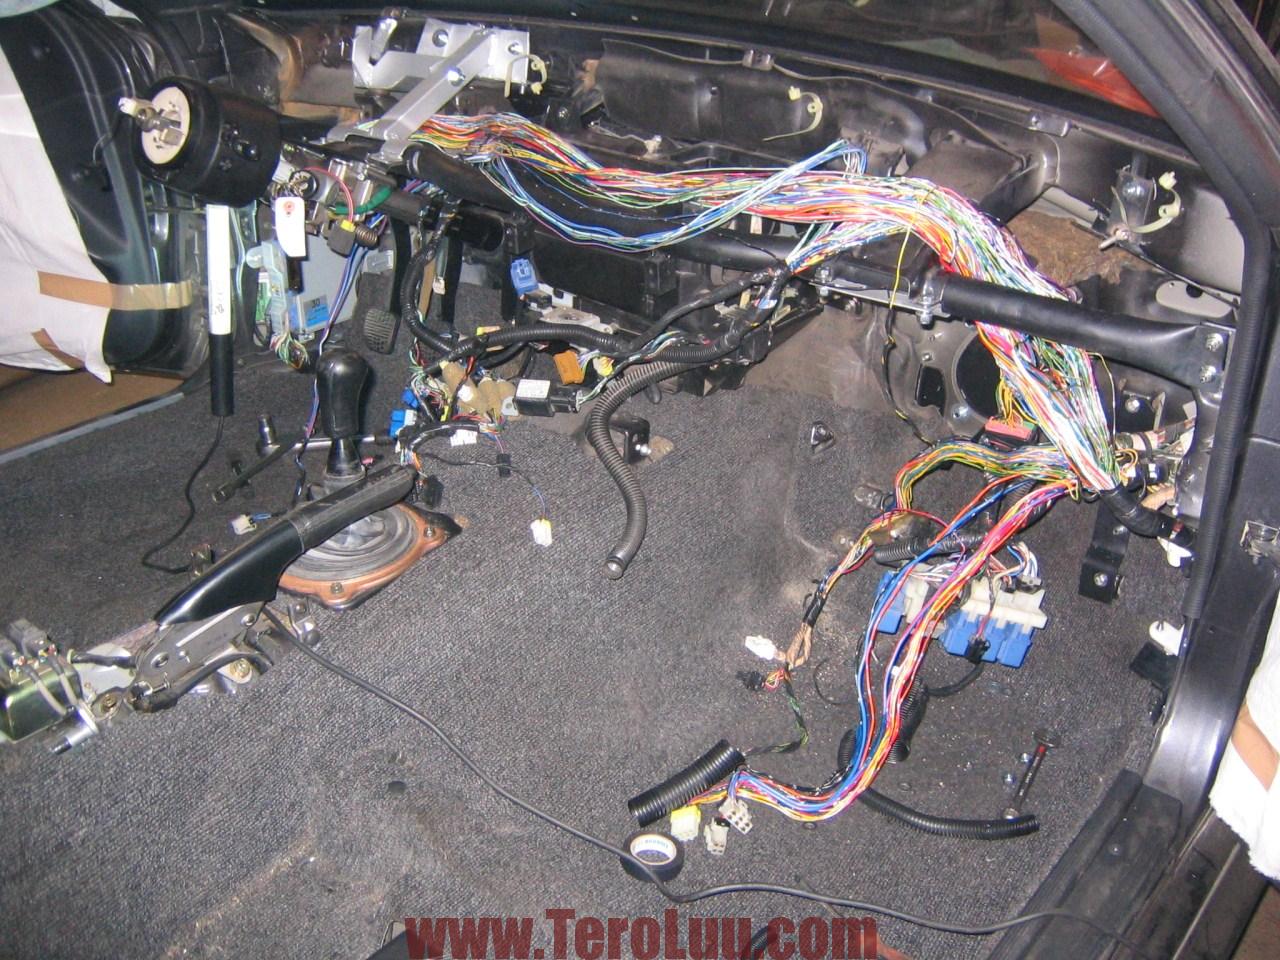
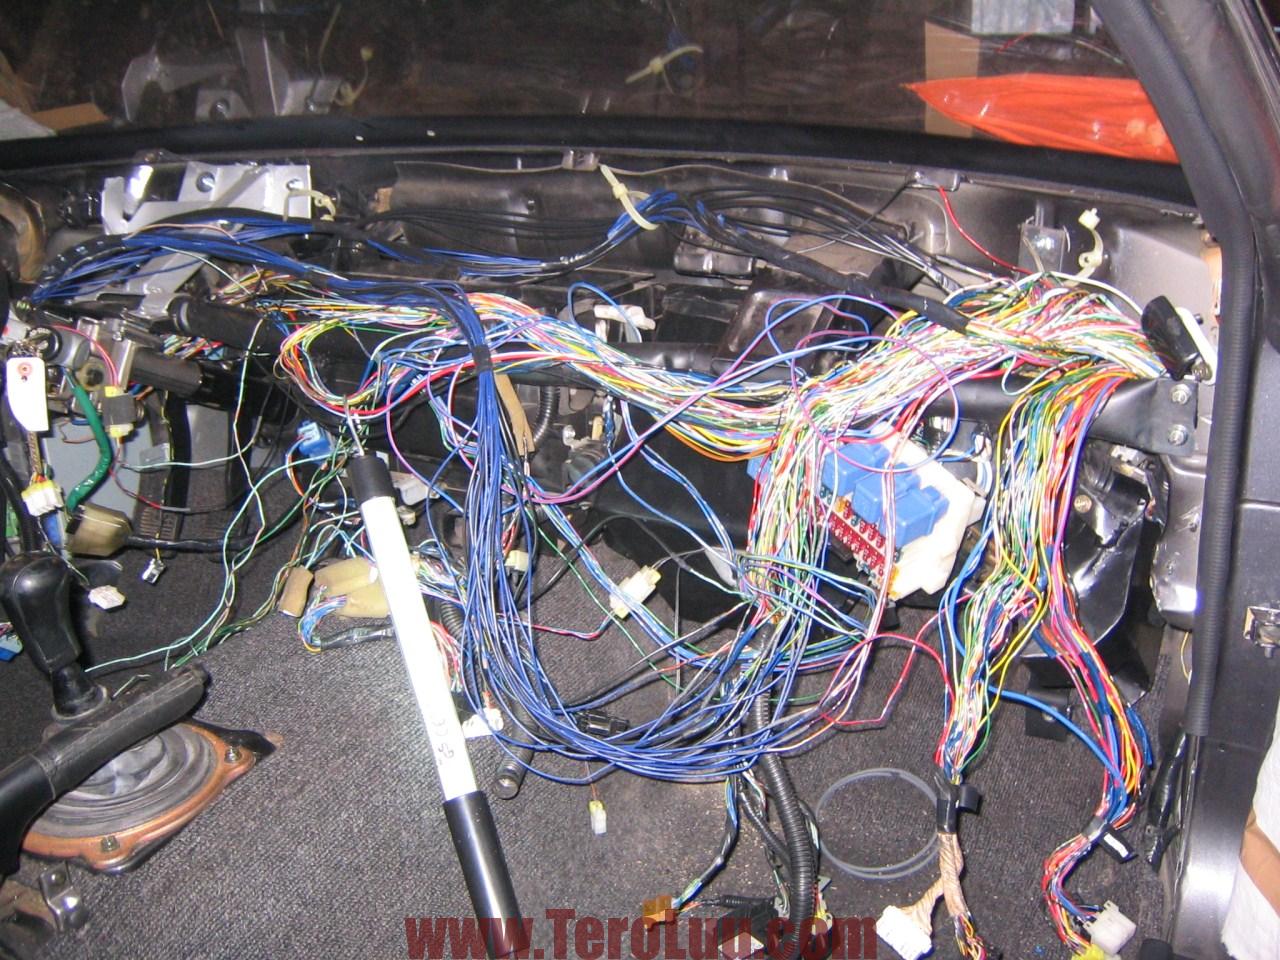
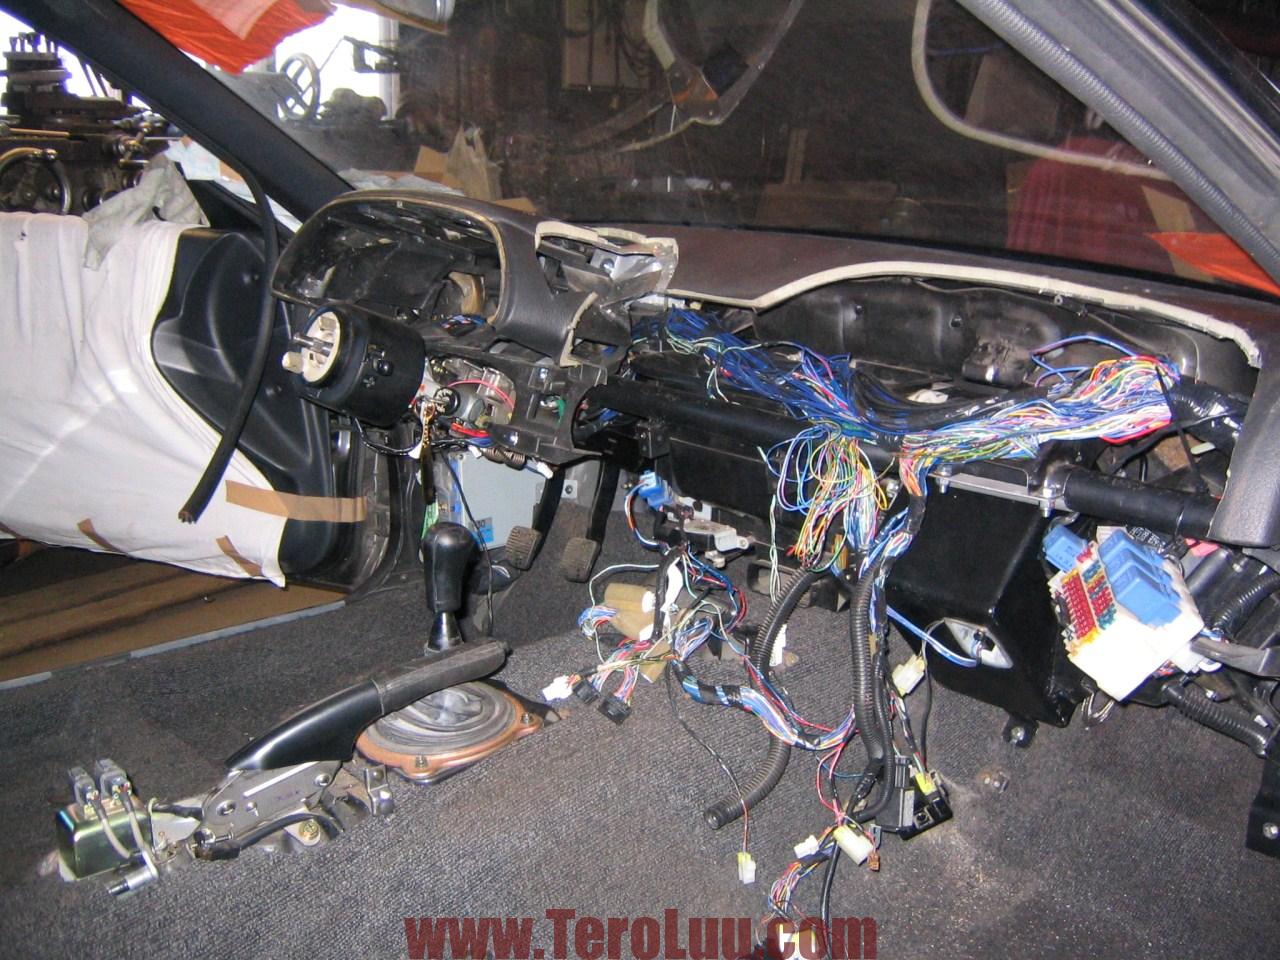
Also all electrical component needs to me moved into left. Or at least most of them. Work in progress.
New brake lines installed.
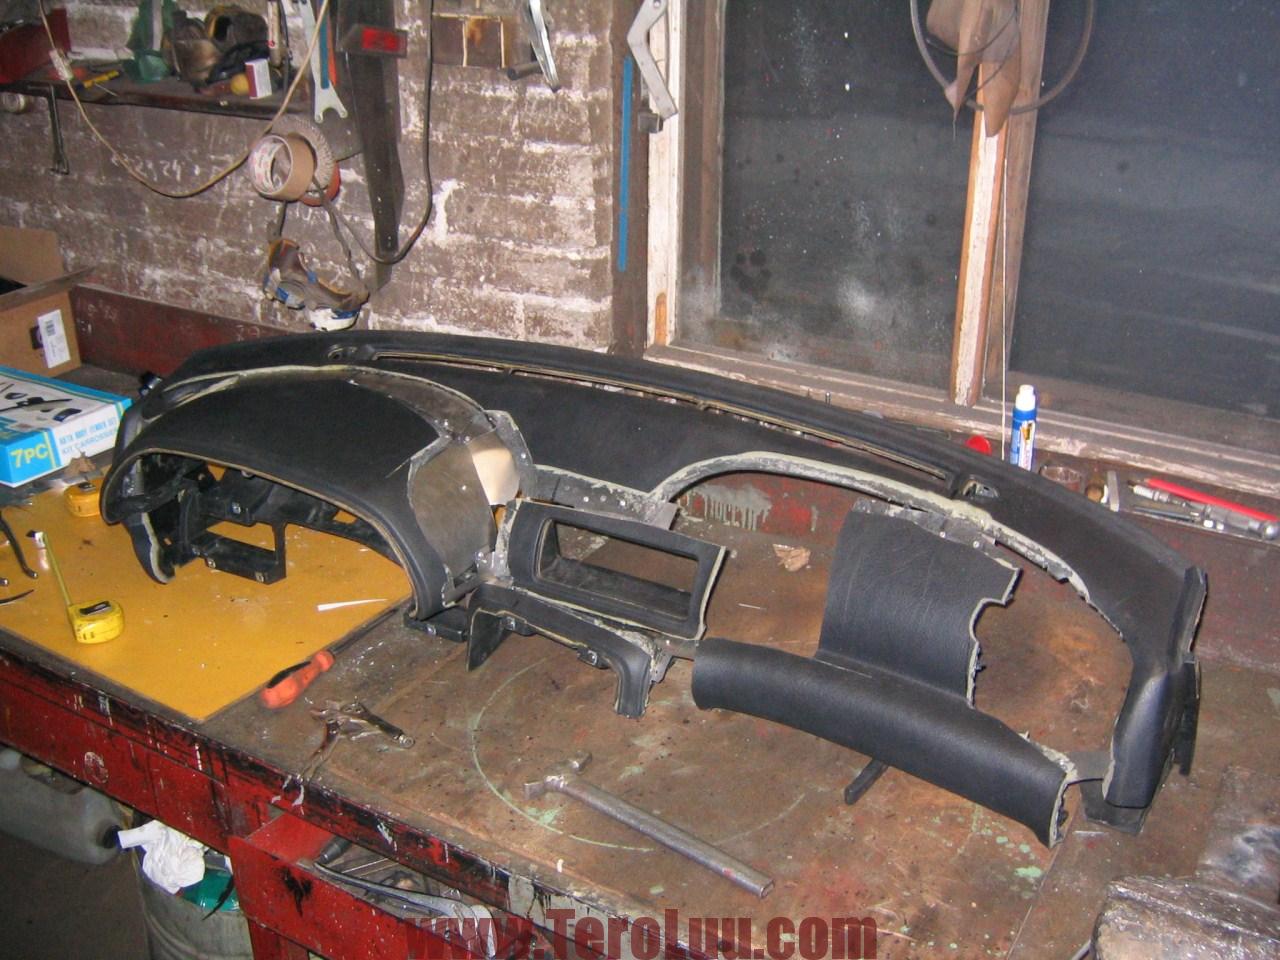
Next is dashboard. This is most challenging part in this project. I seperated “components” from dash and attached them back by using metal sheet and rivets. Test fitted several times and adjusted “componen” places over and over again.
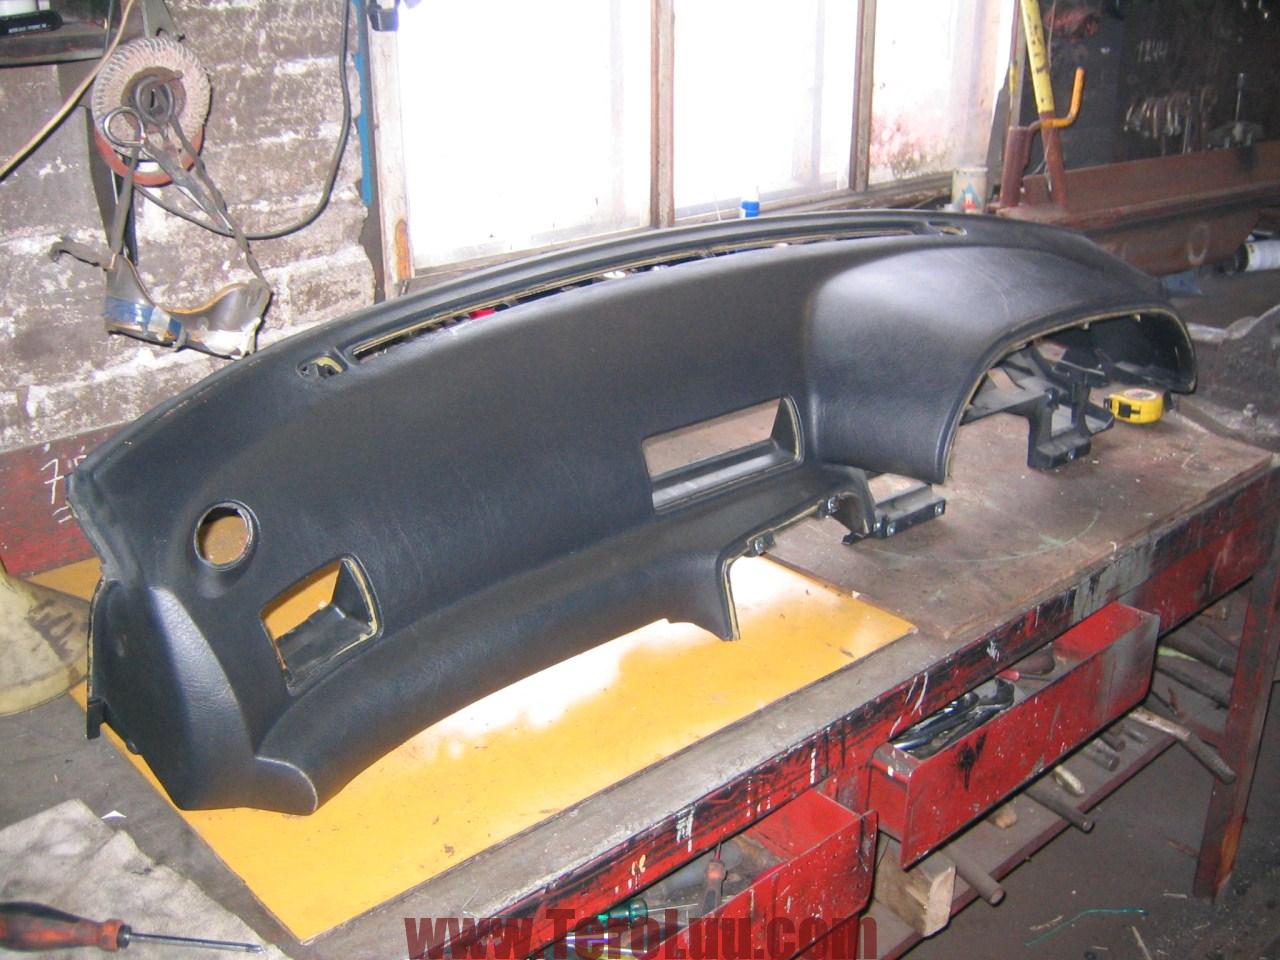
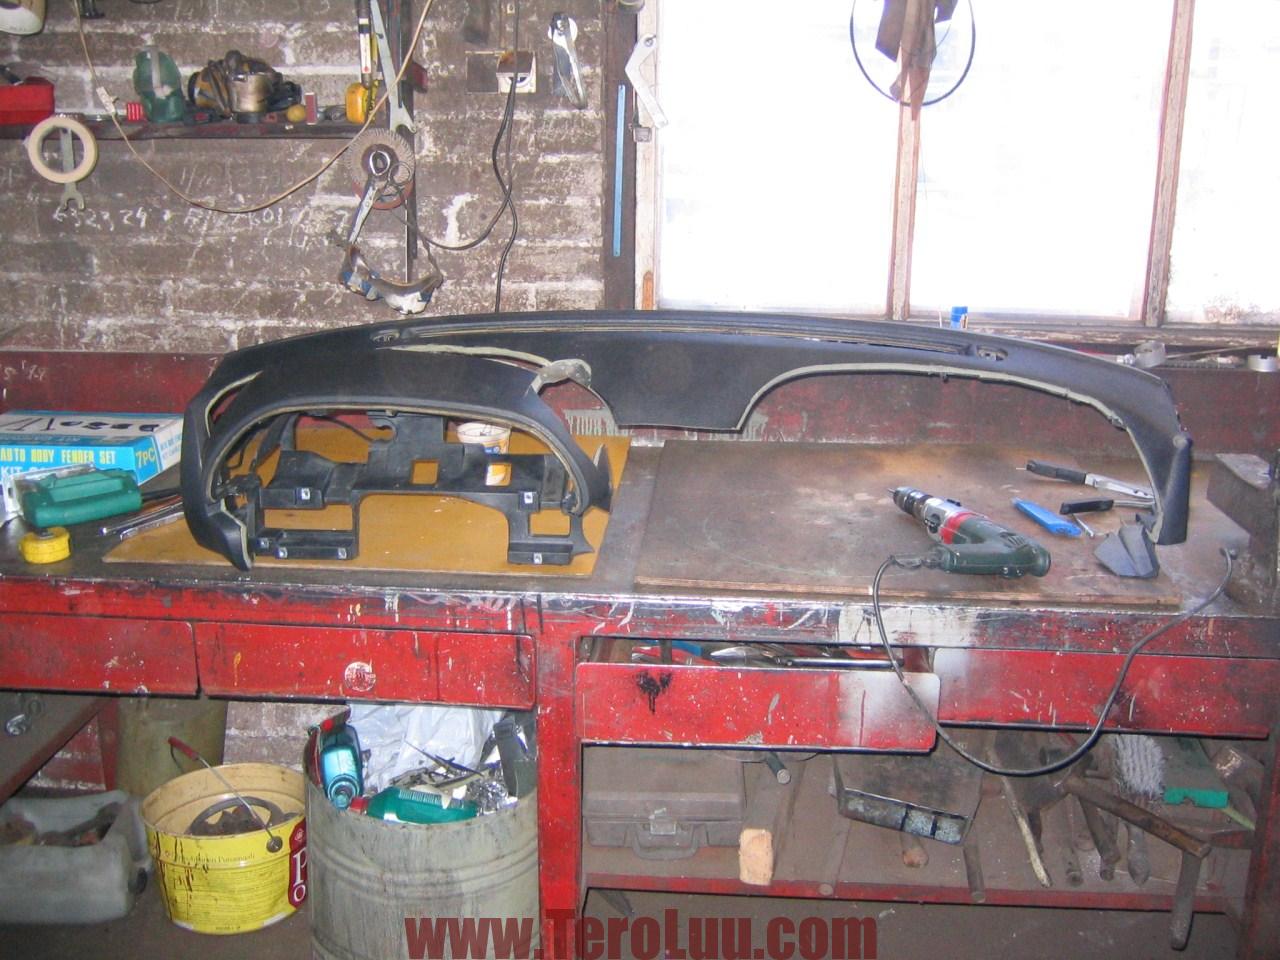
Finally new “frames” of dashboard are starting to be in right places.